

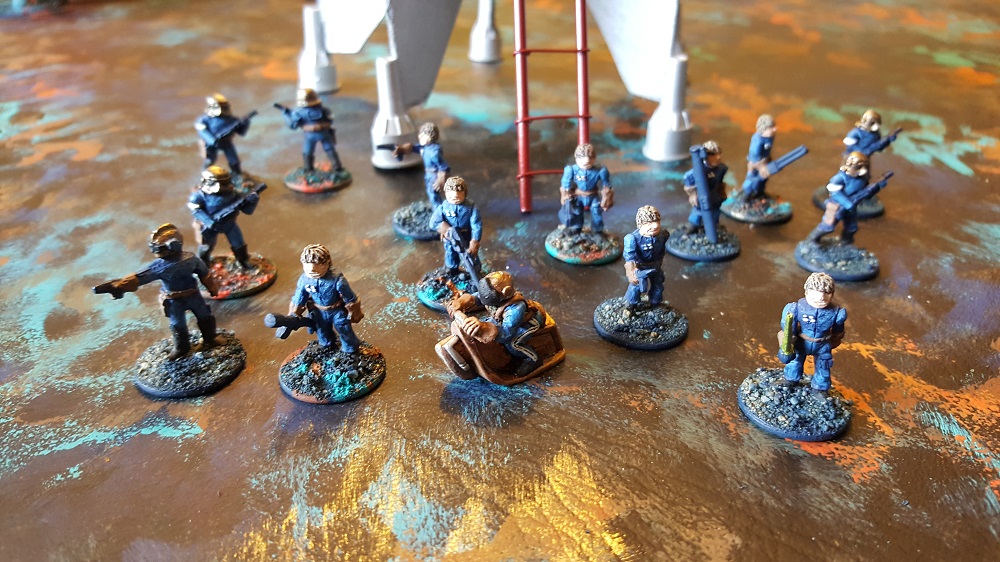
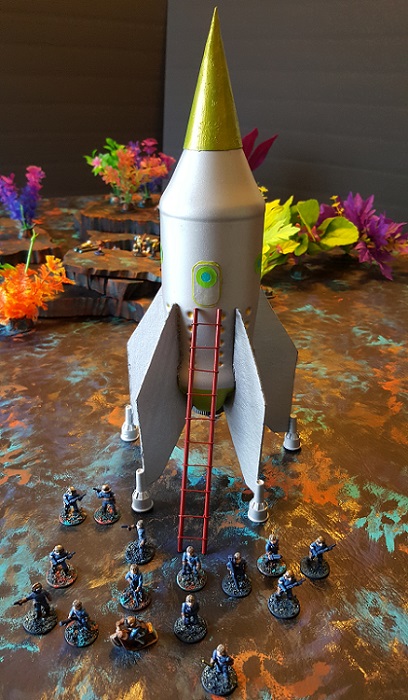
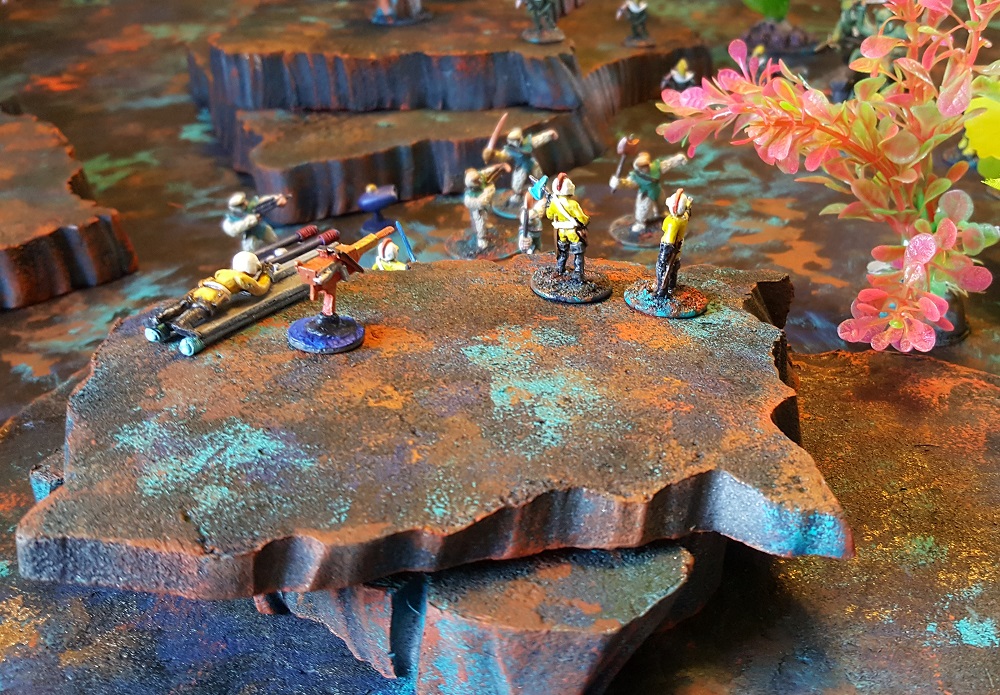
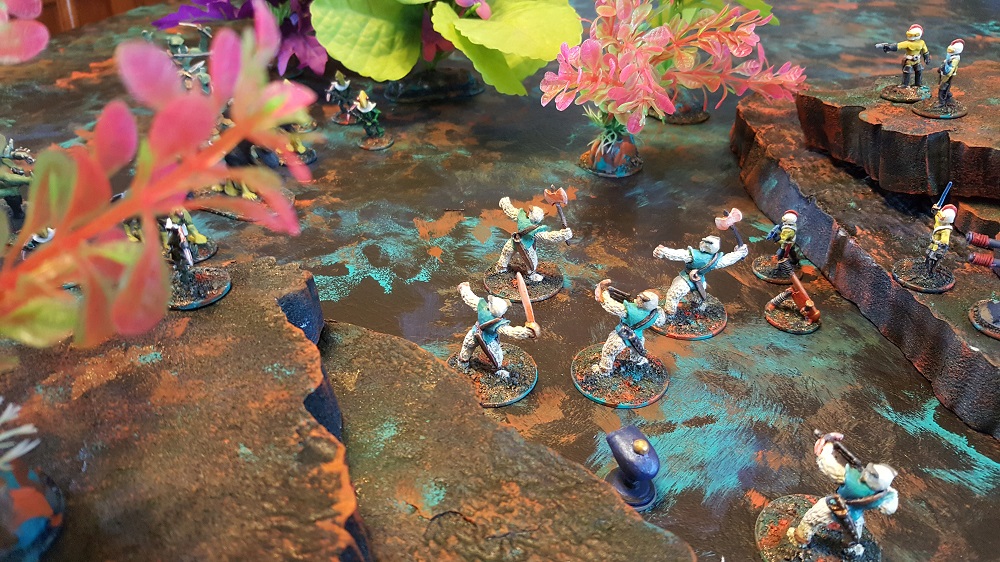
I was so excited to see how things were coming together after the Alien Pods project that I just had to get the battle mat and elevations done! This is Part III of my rendition of following DM Scotty’s tutorials for crafting an alien world. If you have not been following along, his YouTube videos are listed here (near the bottom of the page). Also, the minis shown in these photos are Old School 25mm Fictioneers; various pieces shown have been painted by Robert Athey, Gwen, and/or me. More about the Fictioneers here and here.
So for the project, I needed to pick up some base material for the mat. I found this vinyl with a fabric back at on of my local craft stores in the fabric department. It is quite flexible and lays flat on the tabletop without curling at all. It is sold by the yard and was 54″ wide so getting a 42″x72″ piece was easy. Why those dimensions? That is the size of our table where we typically game. The material is very easy to cut with standard scissors. Any color will work since it will be covered entirely with paint. I did get black so any spots missed while painting would be unobjectionable. The material was $20 full price but the store regularly has sales/coupons where you can save 40% or so.
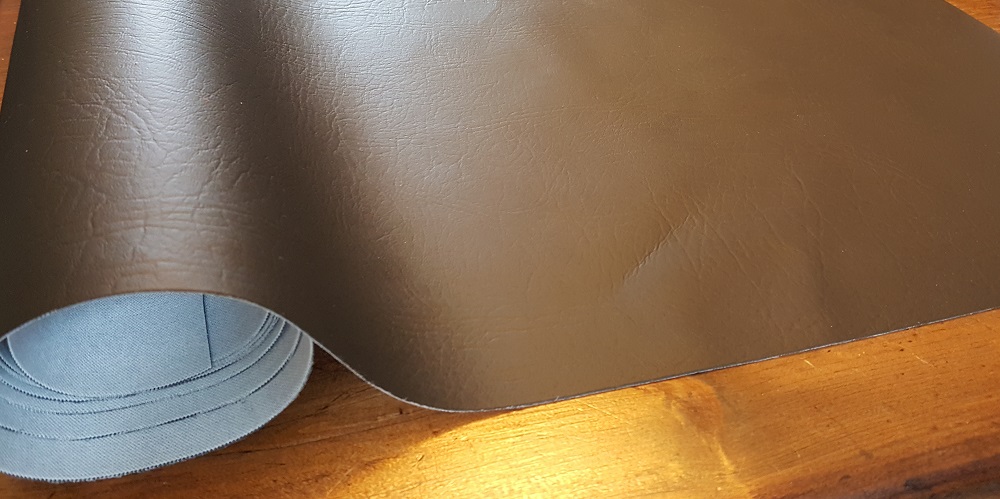
Black Vinyl Mat’l Roll 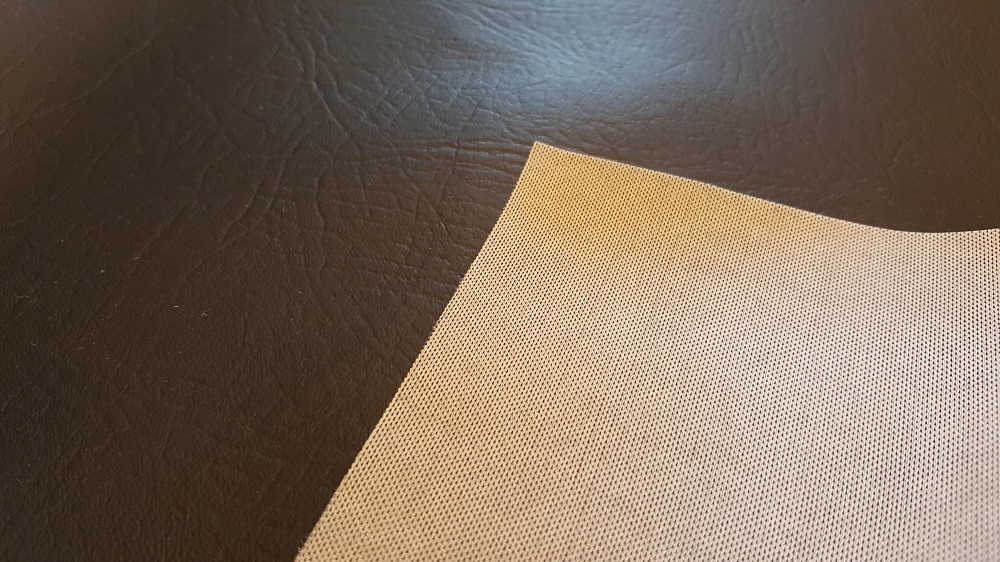
Cloth Backing
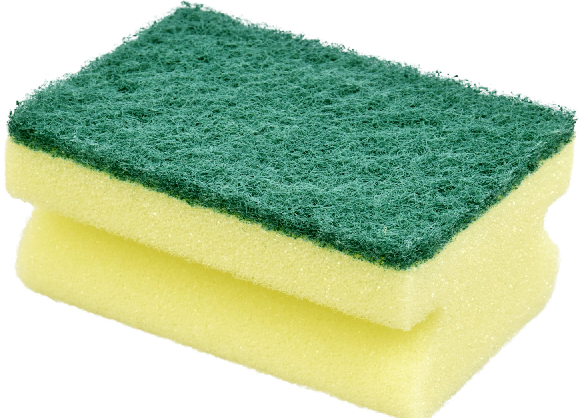
The painting is super simple. DM Scotty used a natural ocean sponge to stamp the paint onto the surfaces. The rough irregular texture of the sponge made a really nice organic pattern. I did not have one handy and I was in a rush to get started so I made one from a cheapo modern sponge from the dollar store. There were 6 of these in a pack for $1. I had actually purchased them for another project that I’ll post about in the future. The scratchy green part peels off easily (save it for a different project) then the super smooth machine cut foam needs to be have chunks ripped out with a pair of plyers and nipped at with scissors. It might sound intimidating but it takes 2 minutes really. Watch Scotty’s video for how easy the stamping is. I did the whole mat in about 15 min. Navy blue, aqua, burnt sienna, bronze, and tera cotta. I had some of the paint colors already but if you bought them all new, it would be $5-10.
To purchase a similar size battle mat could cost $35-75. I feel really good about my investment of time/money for this one. Once the battle mat was complete, I made up the elevations (hills). They are cut from XPS (Extruded Polystyrene) insulation board with a hot wire tool, roughed up, then spray painted.
The cheapest way to buy XPS is to buy a 4’x8′ board from your local home improvement store. You can also buy ‘project’ boards that are 2’x2′ for about $6 if you just want to get a small amount and give it a try. You may also find someone willing to give you some decent size scrap pieces left over from a home improvement project.
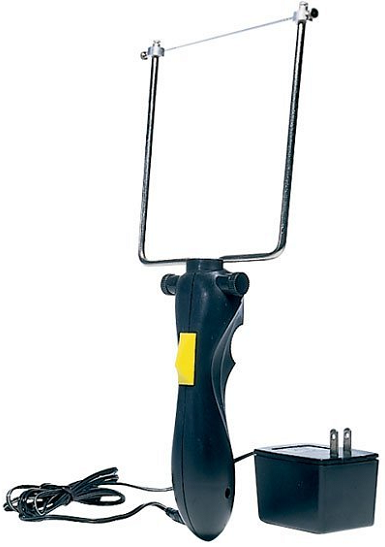
I have the Woodland Scenics Hot Wire Foam Cutter shown below. I think they go for around $30 most places. There are other brands that look like they work fine also. This one has a nice sized opening to work with, a comfortable grip, it heats up super fast, and it is ridged enough to hold the wire taut without being too heavy to wield. It also happens to be the one I have. You can cut it with a knife but it is alot more work and makes a mess to clean up later.
Scotty did the roughing up with a chunk of concrete block. I did mine with a log that still had the bark on it. Use anything you have access to that has an interesting texture and some decent weight. The XPS foam is pretty tough stuff.
Typically, we do not use spray paint with XPS because it deforms/dissolves. In this case, it adds some additional texture for us. Depending on the spray paint used and how you apply it (how close/heavy it is applied) there can be more/less dissolving of the XPS. Mine did not dissolve much from spraying so I didn’t get a lot of extra texture but they look fine.
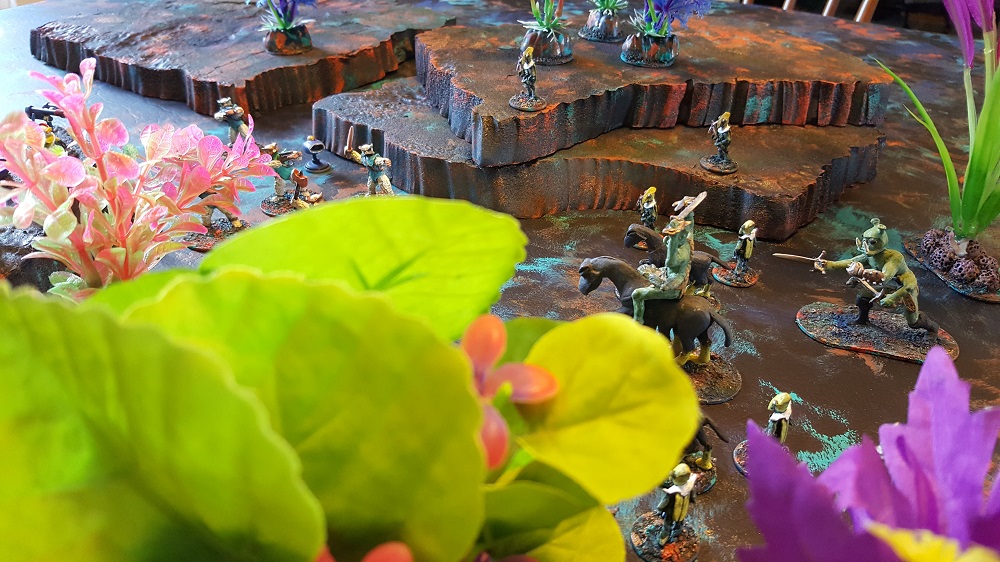
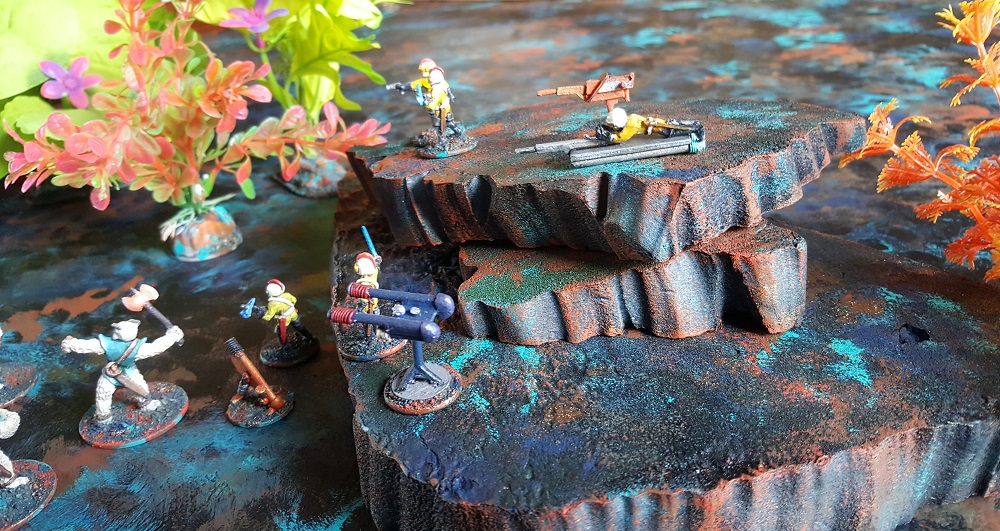
I did do the same 5 color treatment to my mini’s bases but the paint was applied with a paint brush rather than a sponge. The first color (the navy) was very watered down to help it flow over/around the sand particles as in mentioned in the Alien Pods post. Speaking of which, I forgot to set the Alien Pods out on the table for these photos but I’m sure you will be seeing them in the near future. For those of you that thought that the plastic aquarium plants being used for trees were too much wild color back in the Adding Some Color post, I hope you approve of the overall look that we are building up to.
Does mine look just the same as Scotty’s? No, I hope not. That wasn’t the intent… but I’m colorblind so what do I know anyway. I believe he stamped his colors overlapping more than I did on my mat. Maybe I did a little better job blending the the colors on the elevations and mini bases. I’m happy with my set either way. The point is, make your own the way you like it. Now that the mat and hills are done, game night is in the near future! And then maybe a road and building construction project. Not every battle can be out in the open wild places.
